Due to the new Google Security requirements for all apps developed for the Android platform, StayLinked is not currently capable of automatically enabling the full permissions of both the radio and storage capabilities while being “sideloaded” without the manual intervention of the user. If the app is sideloaded on the device with only the default options selected and the client is opened, it will be generated and run from a temporary, hidden, virtual-storage location on the device; with no access to the information about the apps being utilized by the device.
Typical Client Installation
The following video demonstrates the use of the StayLinked downloads site to collect and install the APK file.
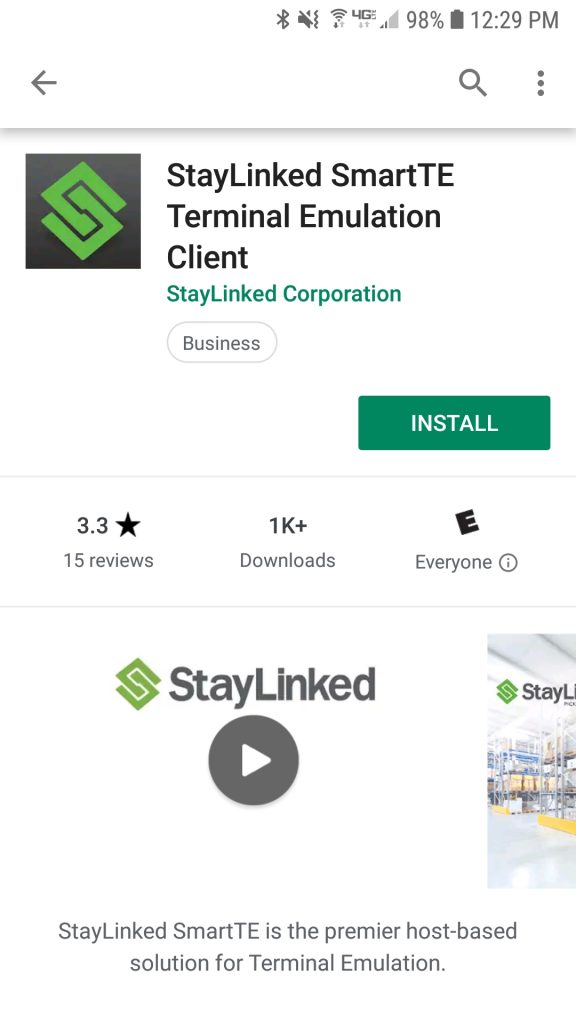
Google Play Store Installation
Go to Google Play Store and install the StayLinked Android Client.
Notes: This method is not recommended for typical customer environments. Most installations should follow a test before distribution process with version controls. Google will default to automatic updates. It's possible that version changes could change an expected feature behavior.
This installation will be generated and run from a temporary, hidden, virtual-storage location on the device; with no access to the information about the apps being utilized by the device.
Step 1: Search the Google Play Store for the StayLinked Android Client.
Step 2: Click Install.
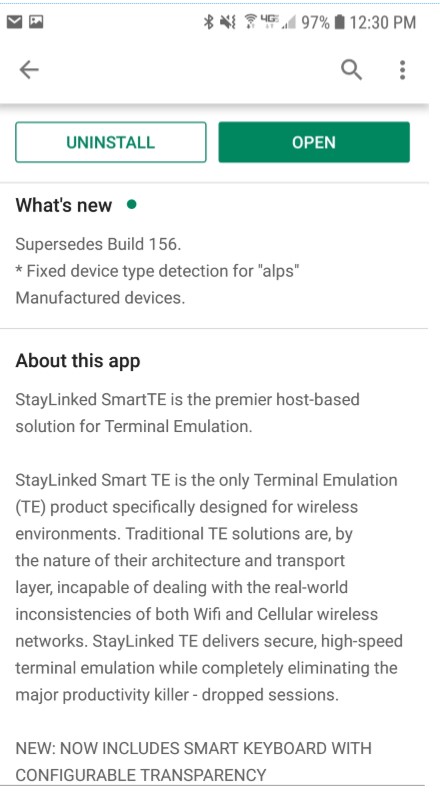
Step 3: Open the StayLinked Android Client App.
Side Load Installation
Below are the steps for installing the StayLinked Android client and enabling the necessary permissions for both the radio and storage capabilities:
Step 1: Place the StayLinked client .apk file in the “Downloads” directory of the device.
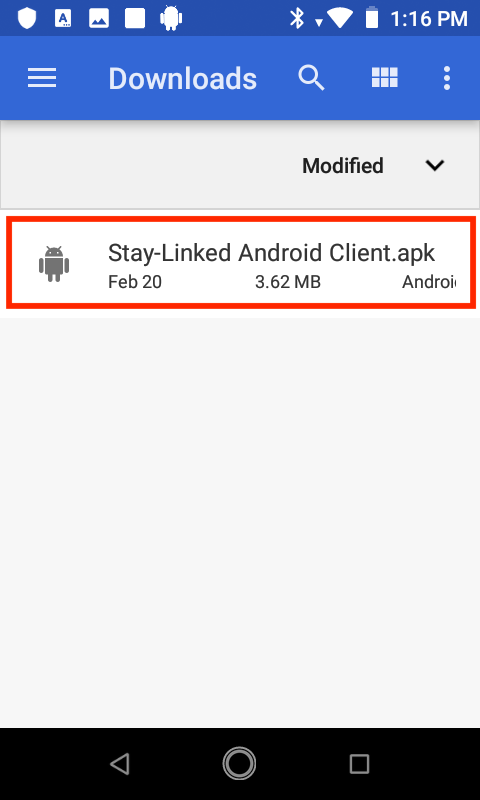
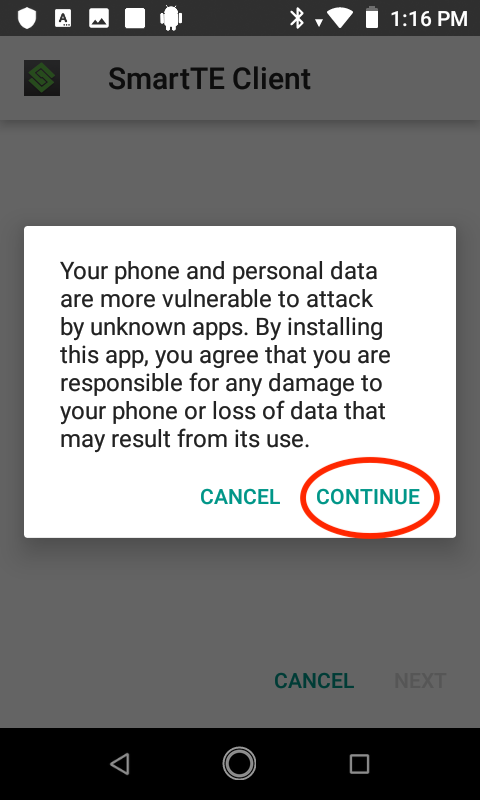
Step 2: Once it is transferred to the device, use the file browser on the device to locate the StayLinked apk and tap on it. You may be asked to enable the installation of apps from “Unknown Sources”, which is a standard requirement for sideloading any app on the Android Platform. In addition, you will also be asked to verify that you understand the risks of installing apps outside of the standard “Google Play Store” method. Select “Continue”
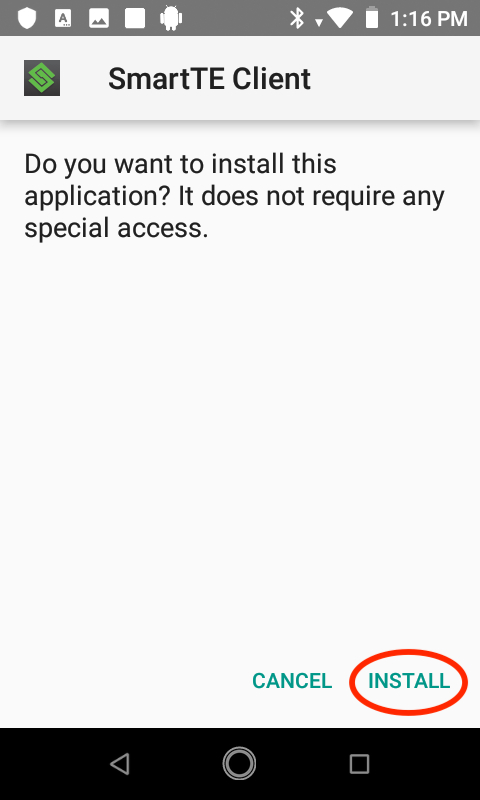
Step 3: You will then be presented with the standard app installation screen for the StayLinked client. Select “Install”.
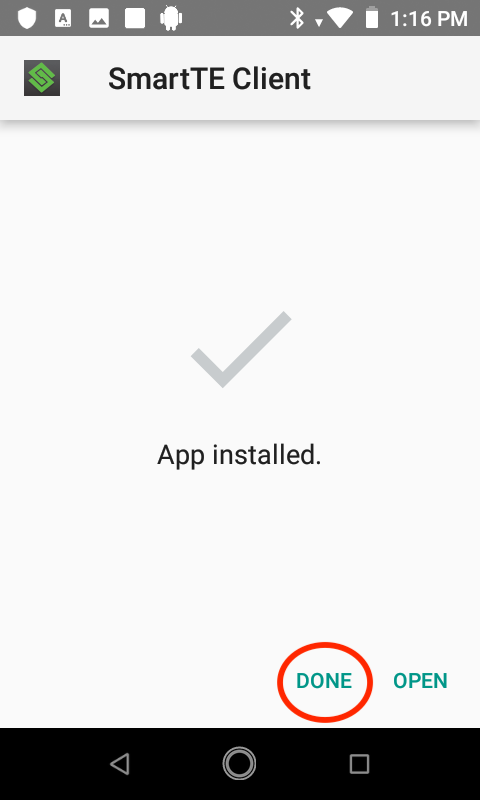
Step 4: You’ll be presented with a progress bar showing the installation progress. Finally, you’ll see a confirmation screen saying that the StayLinked client has installed successfully. Select “DONE” to confirm the app installation.
.
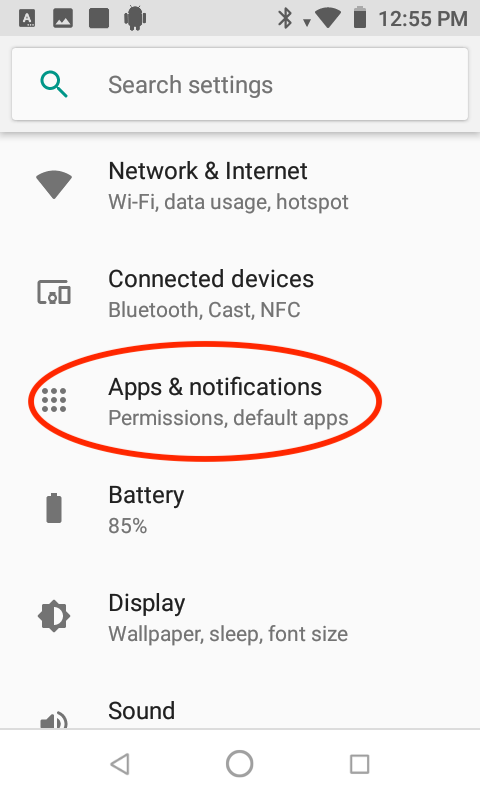
Step 5: Go to the Android Settings utility, look for the “Apps and notifications” section and open it.
Step 6: Once there, locate and select the newly installed StayLinked client app (note that you may have to “See all apps” to locate the client).

Step 7: Inside the StayLinked client app info window, locate the “Permissions” option and select it.
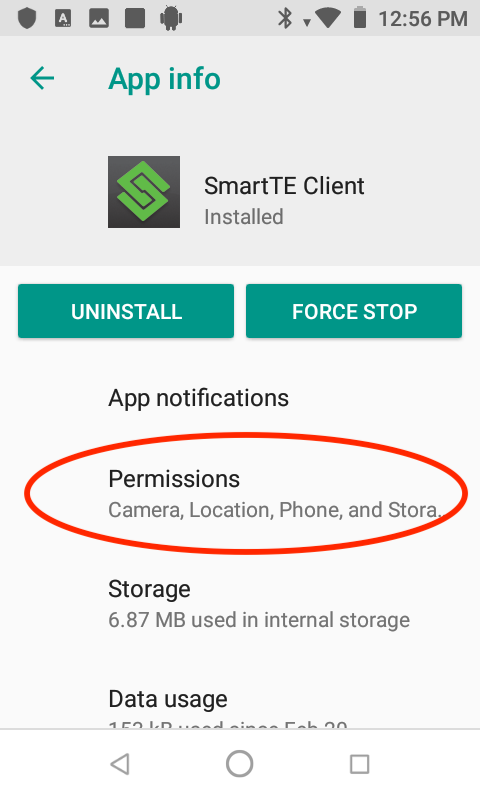
Step 8: Though it will do no harm to enable all of the permissions, the two critical permissions that StayLinked uses are the Location service and the Storage service. The location service is used when StayLinked wants to identify AP information for both logging and radio state identification. More critically, the Storage service is used when StayLinked is first opened to run out of the standard (persistent and externally accessible) “Internal Storage” folder structure.
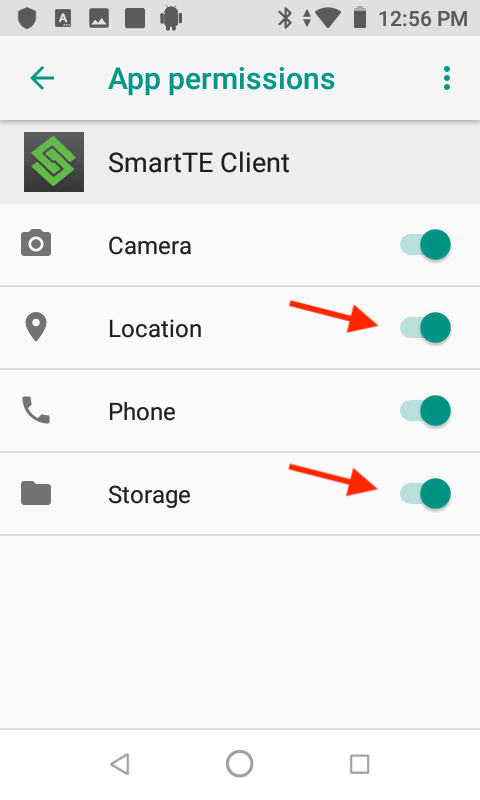
Step 9: Once both of those permissions have been enabled, exit the settings app and return to the home screen. Open all the available apps on the device, location the StayLinked client and open it.
Your client will now have full access to the radio information of the device, and the home directory for the app will be located in the “Internal Storage\Android\data” folder (which is externally accessible from a USB connection or MDM solution), instead of the hidden and temporary virtual storage location it would have defaulted to.
Share the post "Android Client Installation"