This section describes Administrator Management, introduced with Version 9.1.0 of StayLinked. This feature enables the management of the User IDs that are used to control access to the StayLinked Server using the StayLinked Administrator software.
Note that v15.4 and newer Administrator versions distributed by Honeywell include an additional disclaimer on the authentication dialogue. StayLinked Administrator to Server communications after the authentication process are not encrypted and should only be used on secured systems.
Administrator Management Overview
Following are the primary features of Administrator Management:
- A User ID and password is required to access a server.
- Each StayLinked Server manages its own database of User IDs that have access to that server.
- Each User ID describes the in high detail the features of the Administrator that the User ID is permitted to access on that server.
- Each User ID can describe the subsets of devices that are available to be managed on the server.
- Each User ID can be restricted to specific PCs allowed to access the server by origination IP address.
- User IDs and Passwords are case-sensitive.
- Groups can be defined to describe common sets of permissions available for use in the Administrator.
- User IDs can be assigned to a Group and will inherit the available Administrator permissions defined for that Group.
- Administrator Management Settings control the usage properties of User IDs.
- User IDs can become disabled if there are too many unsuccessful attempts to log on.
- Passwords for User IDs can be expired at a specified interval, requiring the user to set a new password the next time they log on.
- Attributes can be set to control the creation of passwords.
The ‘administrator’ Master User ID
Every StayLinked Server has an ‘administrator’ User ID
defined. This is the master User ID for each server and this User ID has
permissions to access all of the features and functions of the Administrator for
this server. The default password for the ‘administrator’ User ID is ‘esp’.
This password can be changed to control access to this User ID. The
‘administrator’ User ID cannot be deleted.
| IMPORTANT: It is recommended that you create at least one additional User ID with ‘Administrator Management’ permissions. This way, if the master ‘administrator’ User ID becomes disabled, or you cannot remember the password, there will be a way to reset the master ‘administrator’ User ID. If, however, the master ‘administrator’ User ID becomes disabled or otherwise cannot be accessed, there is a way to reset it. You will need to create an empty file named ‘resetadmin.xml’ and place that file onto the server in the ‘..\stay-linked\config’ folder. Then, the next time the StayLinked Server process is started, the master ’administrator’ User ID will be reset to its default state. The ‘administrator’ User ID will be re-enabled and the password will be reset to ‘esp’. However, a server process restart is required. |
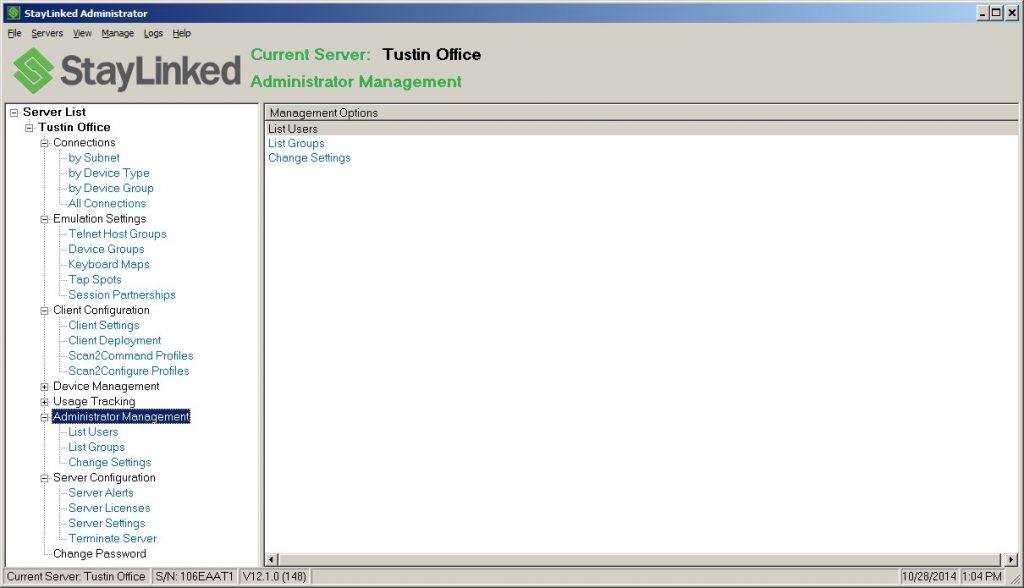
The Administrator Management functions are divided into three groups of configuration settings:
- List Users – Display and edit User IDs that are allowed to manage this server.
- List Groups – Display and edit Groups that predefine groups of permissions for this server.
- Change Settings – Display and edit settings that control the Administrator Management functions.
List Users
When you select ‘List Users’ from the server tree or the Manage menu, a list of User IDs will appear in the main display panel. Each StayLinked server will have a default ‘administrator’ User ID, and you can add other User IDs as required.
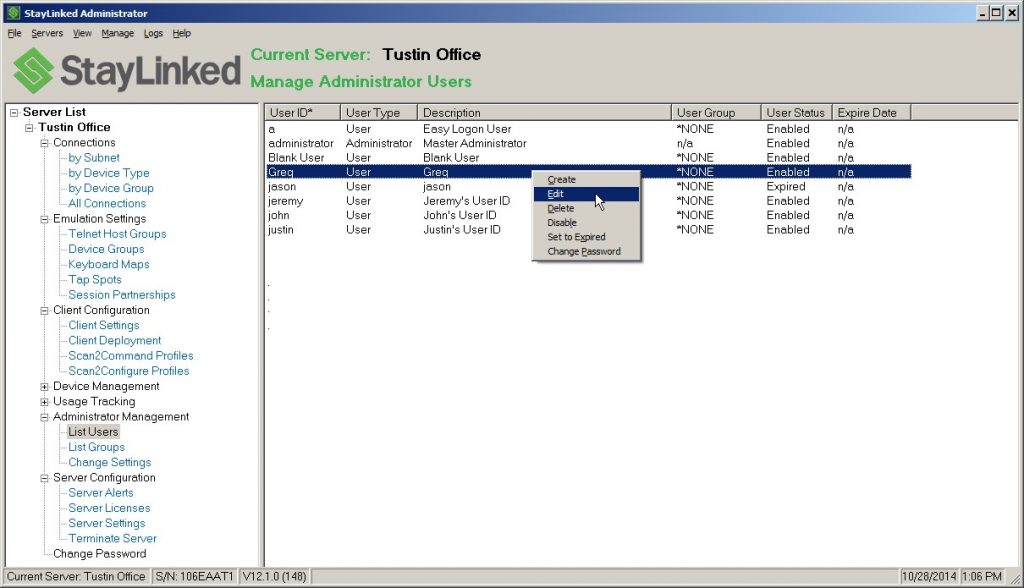
User ID: This column displays the User IDs that have been defined on this server.
User Type: There are two types of users. There will be only one ‘Administrator’ type user with the User ID of ‘administrator’. All other User IDs that you defined will be of type ‘User’.
Description: This is a free-form description that you can enter to help identify a user.
User Group: This column displays the group that the User ID belongs to. If the User ID does not belong to a group, then this column will display the special value of ‘*NONE’.
User Status: This column displays the status of the current user as either ‘Enabled’, ‘Disabled’ or ‘Expired’.
Expire Date: This column displays the date that the password will expire for the User ID. If the Password Expiration Interval setting is set to zero, then this column will display ‘n/a’.
Clicking the right mouse button in
a blank area or on a User ID will cause a small menu to appear with options you
can perform.
Creating a User ID
If you select the menu option to ‘Create’ a User ID, you will be prompted for the name for the new User ID.

The User ID name is case-sensitive.
You can enter any name that does not already exist on this server. The names
‘John’ and ‘john’ are considered to be unique names and they can both exist on
the server at the same time. It is recommended to use lower-case User IDs for
consistency and simplicity. When a User ID is created, the password is set to
match the new User ID name. The User ID is also created in the expired status
and the user will be forced to change the password the first time they log on
using this new User ID. Once the User ID is created, it will appear in the User
List and you can then configure the permissions for the user as desired.
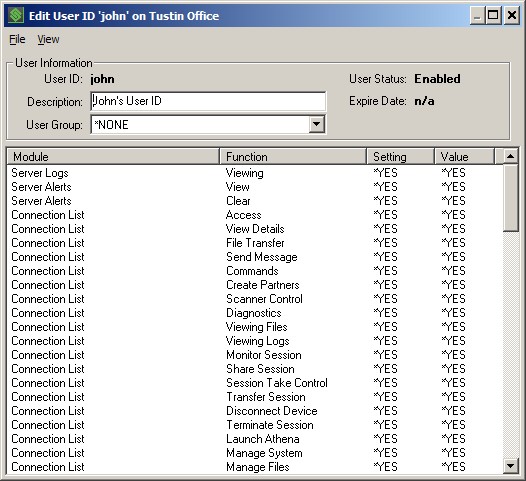
Editing a User ID
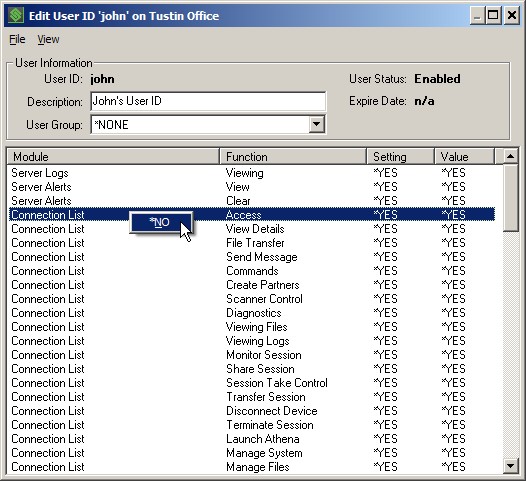
If you double-click on, or select the menu option to ‘Edit’, the selected User ID, you will be presented with this dialog:
From this dialog, you can perform these functions:
Update the User Description: You can enter a description to help identify the user.
Assign the User ID to an existing Group: If assigned to a Group, the User ID will adopt the permissions assigned to that Group. You can then override individual permissions for this User ID as desired.
Change User ID Permissions: The permissions list enumerates the various available Modules and Functions that can be individually controlled by setting these permissions.
View and change the Allowed Origin IPs: This feature provides the ability to restrict access to this server for a given User ID by the origination IP address of the Administrator PC.
View and change the Connection Filters: This feature provides control over the connections that this User ID can view and manage in the Administrator Connections List.
Save Changes: Select the ‘Save Changes’ option from the File menu to save your changes to this User ID.
The various elements of this dialog are:
User ID – The User ID that is being edited.
User Status – The current status of this User ID.
Enabled – The user ID is active and available to be logged on.
Disabled – The User ID is not
available to be logged on. A User ID can become disabled by manually changing
the status, or if the system is configured to disable the User ID after too
many failed logon attempts.
Expired – The password for this User
ID is expired. The next time a user attempts to log on with this User ID, they
will be prompted to change their password. A User ID can be manually expired or
the system can be configured to automatically expire the password at a specified
interval.
Description – The description for the User ID that is being edited.
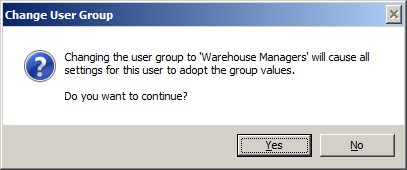
User Group – The Group to which this User ID is a member. If the User ID is not a member of a Group, then the value will be *NONE. If the User ID is assigned to a Group, then the User IDs permissions will be adopted from that Group. When you select a Group from the drop-down list, you will be warned that all of the permissions will be changed to match the selected Group permissions.
Expire Date – The date that the User ID will expire and require the user to enter a new password. If this value is displaying ‘n/a’, then this means that the server is configured to never expire User IDs.
Permissions List – This list contains all of the modules and functions that can be controlled using permissions. The list displays these columns:
Module – The module in the Administrator to which the permissions apply.
Function – The specific function within the module to which the permission applies.
Setting – The configurable setting that controls the effective permission for this module/function.
Value – The effective permission for this module/function based upon the selected setting.
If the User ID has any ‘Connection Filters’ defined, then there will be no ‘Connection List’ module functions displayed in this ‘User Information’ permissions list. Instead, you will select the ‘Connection Filters’ option from the ‘View’ menu to access the ‘Connection Filters’ that have been defined for this User ID. When you edit a ‘Connection Filter’, you can configure the permissions that will apply for the ‘Connection List’ module for the Connections to which the user is allowed access according to that Connection Filter.
Changing User ID Permissions
From the Edit User ID dialog displaying the User ID Information, you can see the permissions list. Each item in this list represents a unique function within a module of the Administrator. You can set the permissions that this user has for the individual function in the module by right-clicking on the item in the permissions list. A context-sensitive menu will appear with the available permissions for this selected item. If the User ID is a member of a Group, then the possible settings for the item are:
*GROUP – Set the permission to the value defined in the Group for
this module and function.
*YES – Give the user permission to
this module and function, overriding any Group settings.
*NO – Deny the user permission to
this module and function, overriding any Group settings.
The menu options that will appear
are based upon the current setting for this item and the Group membership for
the User ID.
If the User ID is not a member of a Group, then depending upon the current
setting, the only possible menu options will be either *YES -or- *NO.
If the User ID is a Group member, then depending upon the current setting, the
menu options could be either *YES and *NO -or- *GROUP and *YES -or- *GROUP and
*NO.
When setting permissions, you can select multiple items from the permissions list and apply your desired setting to all of them at once. If you use Ctrl-Click, then you can select multiple individual items from anywhere in the list. If you use Shift-Click, then you can select a contiguous block of items. Right-click on the selected items and a context menu will appear with the available permissions, depending upon whether the User ID is a member of a Group or not.
If the User ID is not a member of a group, then the menu options will include both *YES and *NO. If the User ID is a group member, then the menu options will include *GROUP and *YES and *NO. The permission that you select from the menu will be applied to all selected items in the list.
View and change the Allowed Origin IPs
For each User ID, you can control which Administrator PCs can be used to manage the server. You can specify a list of Allowed Origin IPs for the Administrator PCs that can be used to manage the server and this User ID will only be able to sign on to the server from one of those PCs. If you do not specify one or more Allowed Origin IPs, then the user will not be restricted and can sign on from any Administrator PC.
To view and change the Allowed Origin IPs, select the ‘Allowed Origin IPs’ option from the ‘View’ menu. Clicking the right mouse button in a blank area or on a Origin IP will cause a small menu to appear with options you can perform.
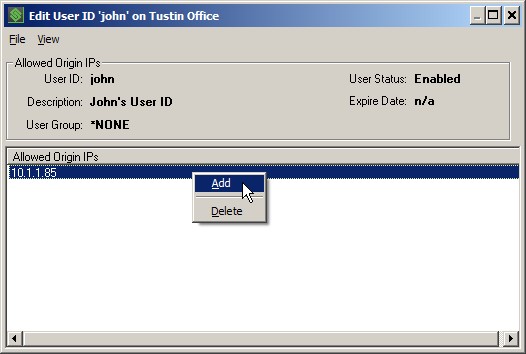
You can Add and Delete Allowed Origin IPs from the list.
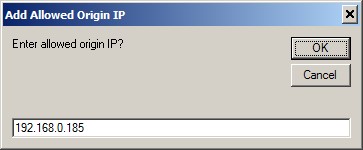
Add – Select this menu option to add a new Allowed Origin IP for this User ID. You will be presented with a dialog into which you can type the Allowed Origin IP address:
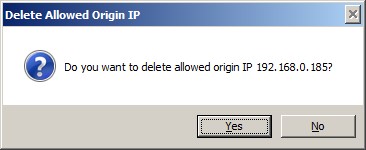
Delete – Select this menu option to delete the currently selected Allowed Origin IP. You will be prompted to delete the Allowed Origin IP.
View and change the Connection Filters
For each User ID, you can control which connections can be viewed and managed from the Administrator Connections list. There are two types of Connection Filters that you can create a to determine which connections will be visible in the Connection List and what management options will be available for those connections.
by Device Group – This connection filter type selects connections based upon the ‘Device Group’ to which the connection belongs.
by IP Range – This connection filter type selects connections based upon the device’s local IP address being contained in the IP range defined for the connection filter. To view and change the Connection Filters, select the ‘Connection Filters’ option from the ‘View’ menu. Clicking the right mouse button in a blank area or on a Connection Filter will cause a small menu to appear with options you can perform.
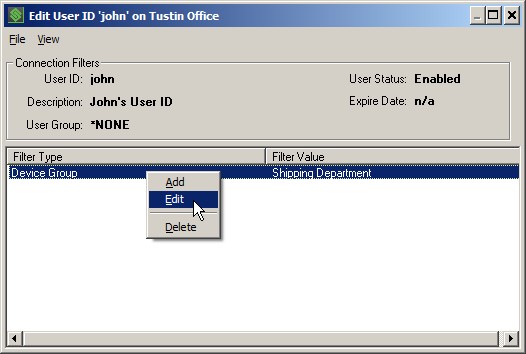
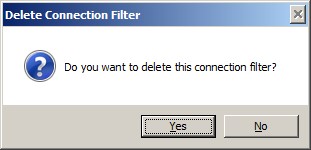
Delete – Select this menu option to delete the currently selected Connection Filter. You will be prompted to delete the Connection Filter.
Edit – Select this menu option to edit the currently selected Connection Filter. You will be presented with the Edit dialog where you can change the Filter Type if desired. You can also use this dialog to change permissions for the various connection list functions.
Add – Select this menu option to add a new Connection Filter for this User ID. You will be presented with a dialog into which you can configure the Connection Filter options:
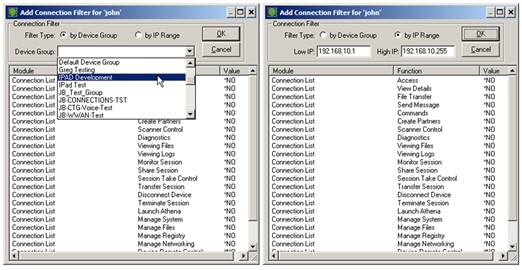
On the Add Connection Filter dialog, you can select your desired Filter Type as either ‘by Device Group’ or ‘by IP Range’. Depending upon your selection, the dialog will change to enable configuration of the Connection Filter for that Filter Type.
by Device Group – This option allows this User ID to access connections based upon the ‘Device Group’ to which the connection belongs. The dialog will provide a ‘Device Group’ drop-down list from which you can select the desired ‘Device Group’ for this connection filter.
by IP Address – This option allows this User ID to access connections based upon the device’s local IP address being contained in the IP range defined for this connection filter. This dialog will provide a ‘Low IP’ and a ‘High IP’ text box where you can enter the desired IP Range for this connection filter.
Changing Permissions – The permissions list will contain all of the possible functions that are available from the Connections List. You can set the permissions that this user has for the individual function by right-clicking on the item in the permissions list. A context-sensitive menu will appear with the available permissions for this selected item. Depending upon the current setting, the only possible menu option will be either *YES -or- *NO.
When setting permissions, you can select multiple items from the permissions list and apply your desired setting to all of them at once. If you use Ctrl-Click, then you can select multiple individual items from anywhere in the list. If you use Shift-Click, then you can select a contiguous block of items. Right-click on the selected items and a context menu will appear with the available permissions, both *YES and *NO. The permission that you select from the menu will be applied to all selected items in the list.
Select the ‘Save Changes’ option from the File menu to save your changes to this User ID.
Deleting a User ID
If you select the menu option to ‘Delete’ a User ID, you will be prompted to delete the User ID.
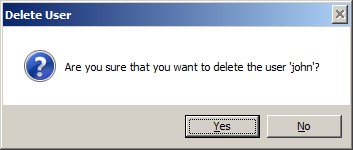
Click ‘Yes’ to delete the User ID from the system.
Enabling and Disabling a User ID
Each User ID will be in one of the three valid statuses, either ‘Enabled’, ‘Disabled’ or ‘Expired’. Depending upon the User ID’s current status, the menu will display either a ‘Enable’ option or a ‘Disable’ option.
If you select the ‘Disable’ menu option, then the User ID will be disabled and will not be available for use until you manually ‘enable’ the User ID.
If you select the ‘Enable’ menu option, then the User ID will be enabled and if the User ID was expired, the ‘password last changed’ date will be reset so that the User ID is no longer expired.
Setting a User ID to Expired
You can use the ‘Set to Expired’ menu option to force a user to change their password the next time they successfully log on to the server. This is a common option to use after manually changing the password for a User ID. If the User ID has been disabled, then this menu option will not be available.
Changing the Password for a User ID
If you select the menu option to ‘Change Password’, you will be prompted for a New Password:
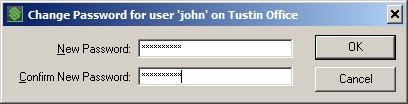
Type in the ‘New Password’ and then retype the password into the ‘Confirm New Password’.
The password that you enter must validate against any password configuration settings that may be in effect on this server, like ‘Minimum Password Length’, ‘Maximum Password Length’ or ‘Require Digits in Password’.
List Groups
When you select ‘List Groups’ from the server tree or the Manage menu, a list of Groups will appear in the main display panel. You can create Groups to help you manage pre-defined sets of permissions that can be adopted by selected User IDs.
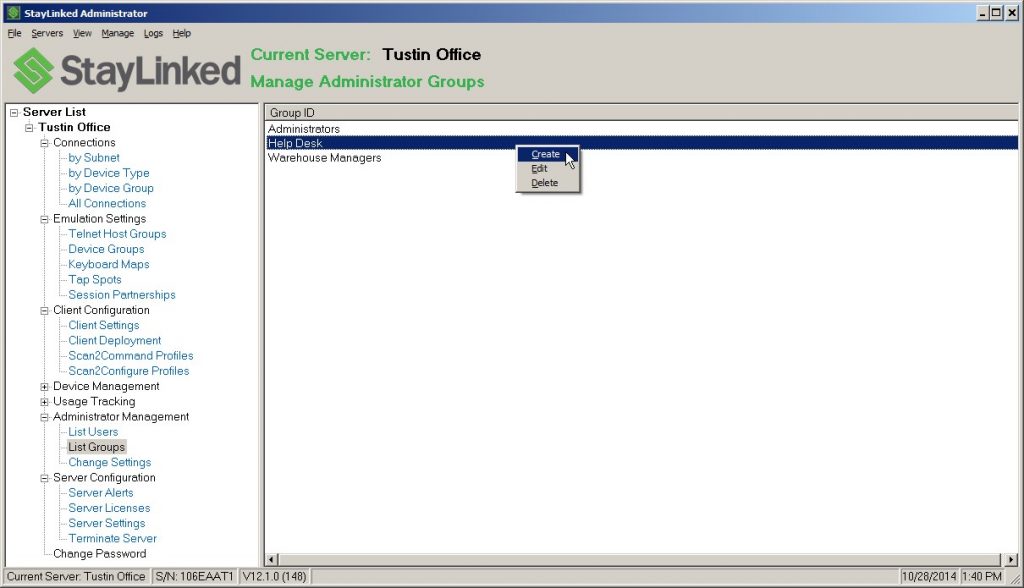
Clicking the right mouse button in a blank area or on a Group will cause a small menu to appear with options you can perform.
Creating a Group
If you select the menu option to ‘Create’ a Group, you will be prompted for the name for the new Group.
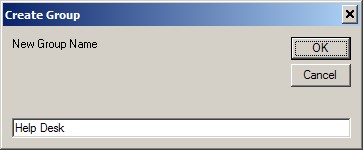
The Group name is case-sensitive.
You can enter any Group name that does not already exist on this server. The
names ‘Warehouse’ and ‘warehouse’ are considered to be unique Group names and
they can both exist on the server at the same time. Once the Group is created,
it will appear in the Group List and you can then configure the permissions for
the Group as desired.
Editing a Group
If you double-click on, or select the menu option to ‘Edit’, the selected Group, you will be presented with this dialog:
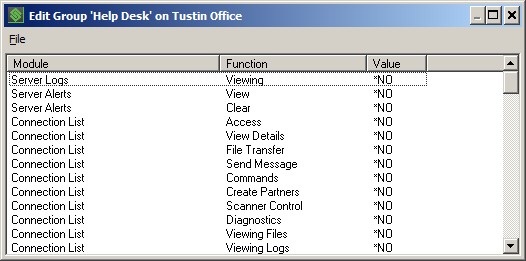
The Group Permissions List will contain all of the possible module functions that are available to be pre-configured for a Group. You can set the permissions that this Group has for the individual function by right-clicking on the item in the permissions list. A context-sensitive menu will appear with the available permissions for this selected item. Depending upon the current setting, the only possible menu option will be either *YES -or- *NO.
When setting permissions, you can select multiple items from the permissions list and apply your desired setting to all of them at once. If you use Ctrl-Click, then you can select multiple individual items from anywhere in the list. If you use Shift-Click, then you can select a contiguous block of items. Right-click on the selected items and a context menu will appear with the available permissions, both *YES and *NO. The permission that you select from the menu will be applied to all selected items in the list.
Select the ‘Save Changes’ option from the File menu to save your changes to this Group.
Deleting a Group
If you select the menu option to ‘Delete’ a Group, you will be prompted to delete the Group.
Click ‘Yes’ to delete the Group from the system.
If the Group is assigned to any
User ID, you will not be allowed to delete the Group.
Change Settings
When you select ‘Change Settings’ from the server tree or the Manage menu, a list of Settings will appear in the main display panel. The various Settings can be configured to control the options available for Administrator Management features.
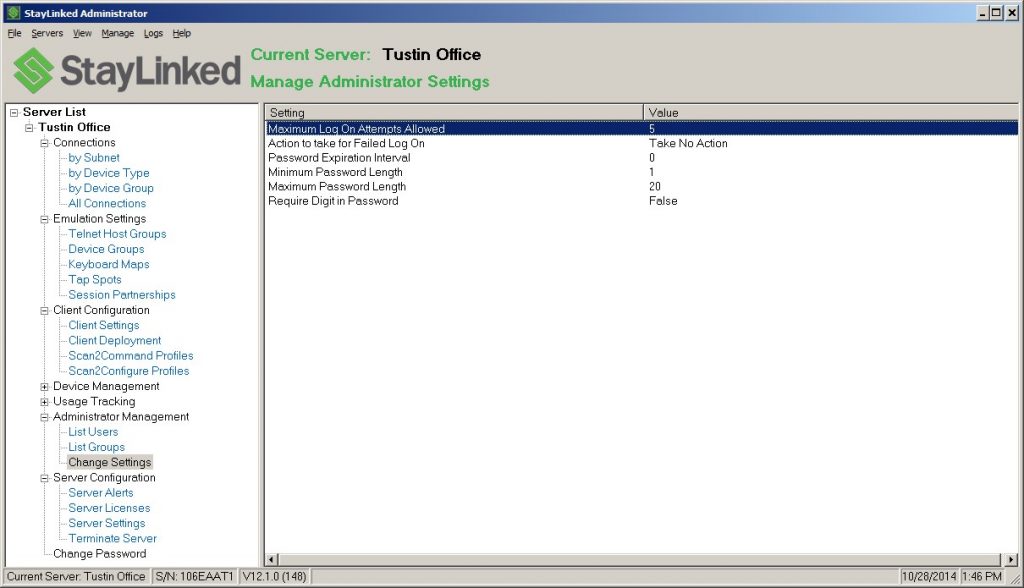
You must double-click on one of the settings in the list in order to make changes to that setting.
Maximum Log On Attempts Allowed: If you double-click on this option, you can define the maximum Log On attempts allowed before the system will perform the ‘Action to take for Failed Log On’ function.
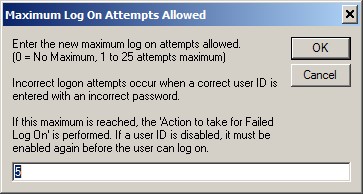
In this dialog, you can type a
value from zero to 25. A value of zero (0) will specify that there is no
maximum log on attempts defined and in this case, users will be able to retry
their passwords indefinitely. If you set this value from 1 to 25, then users who
fail to log on in that number of attempts will be subject to the ‘Action to
take for Failed Log On’.
Action to take for Failed Log On: If you double-click on this option, you can specify the action to take when a user fails to log on and exceeds the maximum log on attempts allowed.
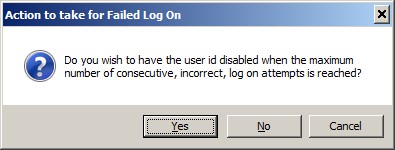
If you wish to have the User ID be disabled, click ‘Yes’. If you wish to take no action, click ‘No’. To leave the current setting, click ‘Cancel’.
Password Expiration Interval: If you double-click on this option, you can specify the number of days for which passwords are valid. This provides password security by requiring users to change their passwords after a specified number of days. The user cannot sign-on until the password is changed.
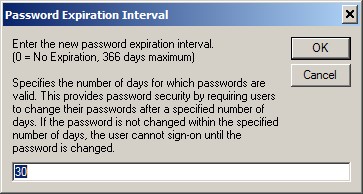
Enter the new password expiration interval. Enter zero (0) if you want the passwords to never expire. Enter a value of 1 to 366 days to cause passwords to expire after that number of days.
Minimum Password Length: If you double-click on this option, you can specify the minimum number of characters in a password.
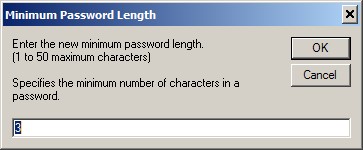
Enter a value between 1 and 50 and then press OK. To leave the current setting. press Cancel.
Maximum Password Length: If you double-click on this option, you can specify the maximum number of characters in a password.
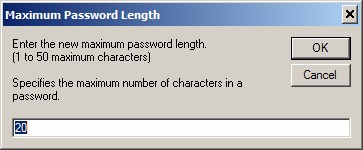
Enter a value between 1 and 50 and then press OK. To leave the current setting. press Cancel.
Require Digit in Password: If you double-click on this option, you can specify whether one or more numeric digit be included in any new password.
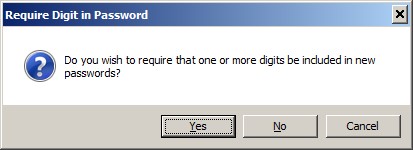
If you wish to require digits in passwords, click ‘Yes’. If not, click ‘No’. To leave the current setting, click ‘Cancel’.
Share the post "Administrator User Guide – Administrator Management"