Most Zebra devices running an Android OS also run the DataWedge program that to manage the scanner interface. StayLinked is designed to work with DataWedge and should automatically do so for most devices on initial setup.
The Android OS allows programs to communicate by using intents. These create a custom channel between DataWedge and the StayLinked Client, allowing scans to be separated from keyboard input. This requires creating a DataWedge profile specific to the application, in this case StayLinked.
Beginning with StayLinked Android Client 204 or higher and DataWedge version 6.8 or higher; there is a default DataWedge Profile generator built into the StayLinked Android client for Zebra devices. During installation, if a StayLinked DataWedge profile is not found and the DataWedge version supports it, the client will automatically build a profile for use. This enhancement eliminates the need to download and import the “canned” StayLinked DW profile. The automatically created profile has the same settings as if an imported profile was used. This automatic profile can be used as a base that can be adjusted, renamed and/or exported for use on other devices. This profile does not affect client or server configuration for the adjustment of barcodes once they reach the StayLinked Server.
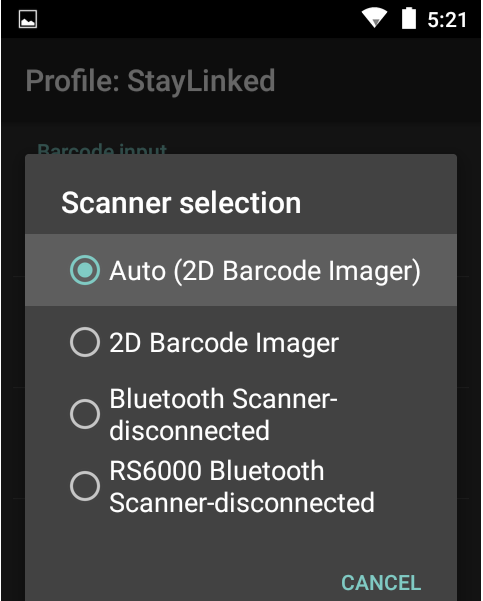
It is important that configuration for the StayLinked profile in DataWedge is configured to use the correct scanning device. The profile should offer a dialogue similar to this:
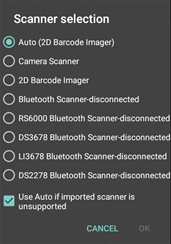
Many devices including those with an SSI interface should operate without extra configuration automatically, or by making sure the device is chosen in the scanner selection. Within the DataWedge profile, select Settings > Barcode Input > Scanner Selection to display the list of supported scanning devices. Most current Zebra scanners can be set to SSI mode with programming barcodes in the Zebra Quick Start Guides.
Devices using tethered or external scanners that use an HID or RS232 may require configuration for AutoWedge or Scanner-as-Wedge.
Devices using older DataWedge or StayLinked versions can utilize one of the other methods described in this section.
DataWedge profiles can be exported and imported, saving some of these steps as long as you can access the export file. Attached to this guide (not visible if viewed within a browser) are two files datawedge_full.db and datawedge_profile.db. These are pre-generated DataWedge intent configurations. If you have DataWedge version 5 or newer, this file can be downloaded and sent to your devices using a client setting that will automatically create the required configuration on your devices. The datawedge_profile.db file is a single profile that is added to your existing list (recommended). Note that importing the datawedge_full.db file will replace all existing DataWedge profiles on your device.
https://portal.staylinked.com/Files/sl/kb/datawedge_profile.db
https://portal.staylinked.com/Files/sl/kb/datawedge_full.db
If the device has an older version of DataWedge, you will need to manually import the file. It may need to be renamed datawedge.db for DataWedge to recognize the file.
In order to use the RFID function within SmartTE for Android on Zebra devices, you must have DataWedge version 7.3.22 or higher loaded on the device
If your DataWedge versions supports automatic imports, the autoimport path should be included in the device file name field:
\enterprise\device\settings\datawedge\autoimport
Devices using any scanner supported by DataWedge can use this configuration. This includes Bluetooth devices that are compatible with DataWedge. This interface will operate at a higher speed and accuracy than the Scanner-as-Wedge configuration mentioned above and is highly recommended for any device with DataWedge support. Even if your device does not include DataWedge, you may be able to download it and install DataWedge from the manufacturer’s website.
The default path and filename for manual imports are: /storage/sdcard0/Android/data/com.symbol.datawedge/files/dwprofile_staylinked.db
If an external SD card is installed, an alternate path can be selected: /storage/sdcard1/Android/data/com.symbol.datawedge/files/dwprofile_staylinked.db
Creating a DataWedge Profile Manually
The following instructions include a name and reference to the Motorola ET1. This name must be used in each of the instructions below, regardless of the device model.

Start by pressing the application menu button on your device to access the installed applications. This is typically a center icon, displayed as a circle with six dots as enclosed in red to the left.
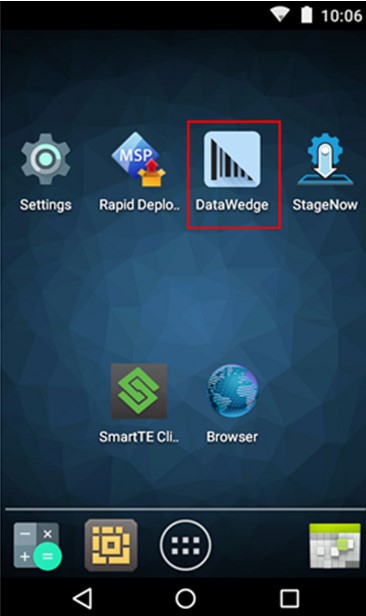
From the Apps list, select the DataWedge program. It may be necessary to slide the page left or right if several apps have been installed on your device.
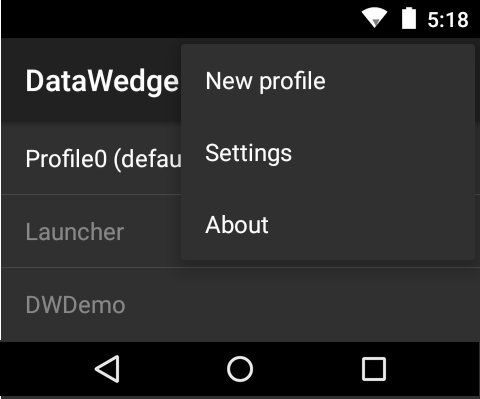
Once DataWedge is open, you’ll want to select the menu icon. This will allow you to create a new profile for use with Stay-Linked.
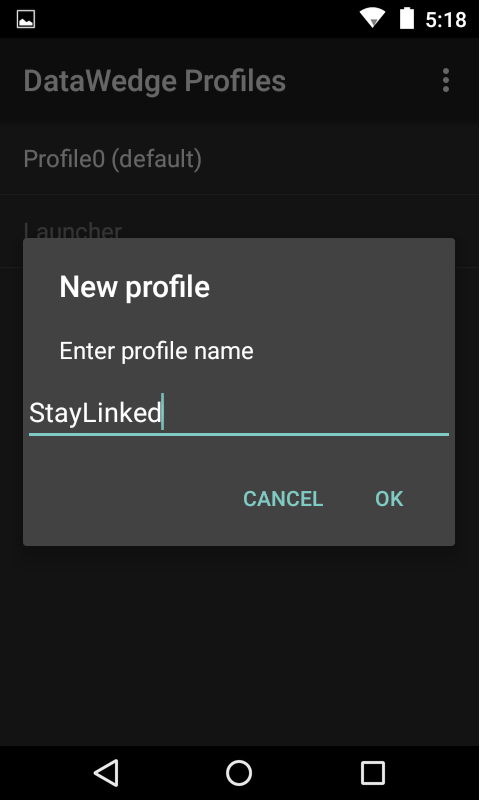
Once the new profile is created, tap and hold on it to get the menu of options for that profile. If you tap the profile name, it will automatically select ‘edit profile’ instead of presenting the menu.
Several configuration options appear, but the screen can be scrolled down to cycle through the complete list. The Stay-Linked scanner profile should be configured with the following options:
The screenshots below have been adjusted to reduce the size of the images and article.
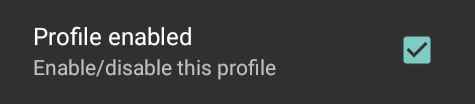
Profile Enabled: Checked
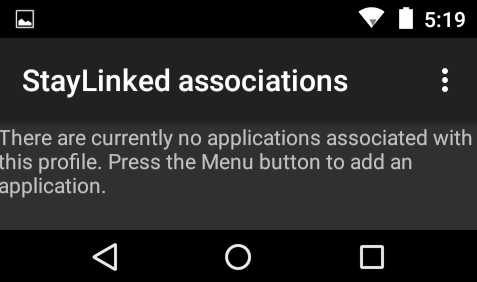
Associated Apps: There are multiple steps to configure this option. Select the menu button to add Stay-Linked as an application associated with this DataWedge profile.
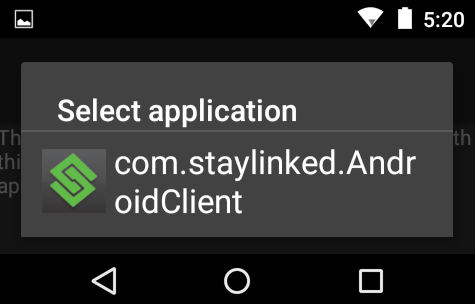
Select com.staylinked.AndroidClient as the application to associate with. The Stay-Linked Android client will appear near the end of the list, and will not appear if it has not yet been installed on your device. Swipe the screen down to scroll down the list.
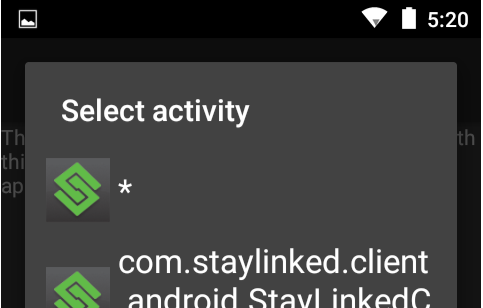
Select the asterisk to include all of the items in the list.
BARCODE INPUT
Enable/disable scanner input: This option should be checked by default.

Scanner Selection: This setting will depend on your device configuration. Devices with an attached scanner should select the scanner. Our device had an integrated camera scanner that worked well with the Auto (Camera scanner) option selected.
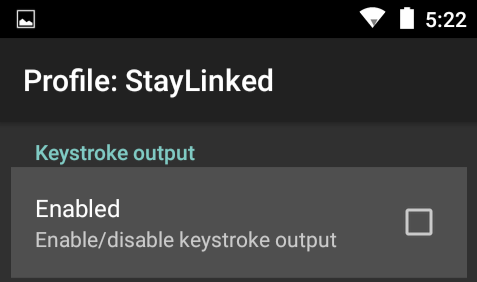
KEYSTROKE OUTPUT
Enable/disable keystroke output: This setting must be unchecked for Stay-Linked to receive scan input from the device.
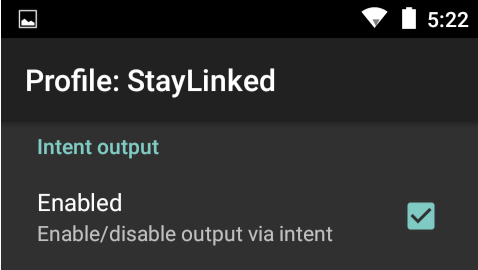
INTENT OUTPUT
Enable/disable output via intent: This option should be checked.
Intent action: Enter the intent action name of com.staylinked.et1.SCAN.
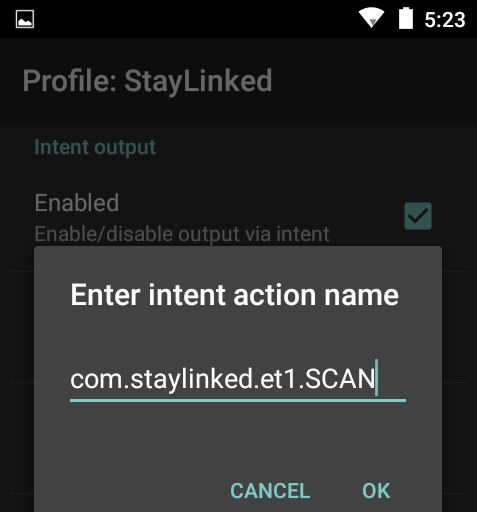
Once entered, it should appear like this:

Intent category: Enter the intent category of com.staylinked.et1.DATAWEDGE.
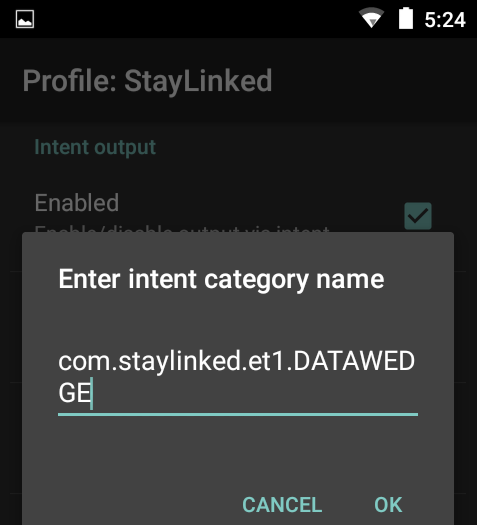
Once entered, it should appear like this:

Intent delivery: Select the intent delivery option of Broadcast intent.

Once entered, it should appear like this:

Once completed, you can select the device Home or Back buttons to return to the device desktop.
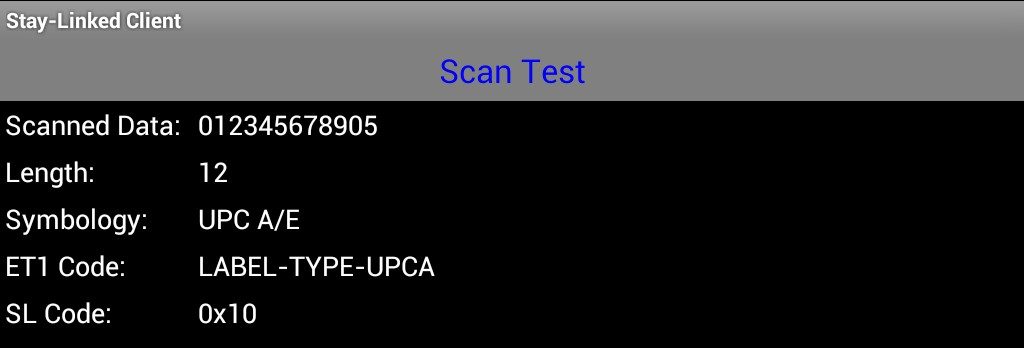
Testing Intent Configuration
The Stay-Linked client includes a scan test under the Tools menu. After running the Stay-Linked client, select tools and scanner test. You should be able to scan nearly any barcode you can find, and data should be returned in the scan test.
Once your configuration is confirmed to work, the device should not need additional configuration for barcode adjustments. Barcode prefix and suffix, as well as many other options, can be configured centrally in the Stay-Linked Server under Device Groups or your Telnet Host entry.
Adjusting the Scan Engine
The DataWedge program contains all scan engine parameters. These features allow symbology options, such as disabling symbology types and converting barcodes to alternative symbologies. Adjustments should be made to the Stay-Linked profile in DataWedge for these hardware-level settings. These settings would be made in the Decoders, Decode Params, UCC EAN Params, Reader Params and Scan Params sections of the DataWedge profile.
The scanner.ini configuration options mentioned in this article do not apply to Android operating system devices.
Importing DataWedge Profiles
Importing Intents Is accomplished from the Main DataWedge profiles page. Select the Menu option, then Settings > Export or Import. Different devices may have slightly different options. Download our sample copy which is an attachment to this PDF, or export your own if you want to import the profile on future devices.
Note that the attachments will not appear in most browser plugins, or if your PDF security settings block attachments.
Share the post "Android Devices by Zebra"