There are several ways to monitor your license usage. For example, the StayLinkedManager.log file from the Server’s Logs subdirectory includes entries for “Seats in Use”. This file keeps a live file and 10 previous copies that have reached your maximum configured log file size.
The best way to track session usage is typically accomplished through Statistics logging. This log file is enabled in the Usage Tracking > Change Settings section of the Administrator. Set the stats log to ‘session counts only’ if you are not tracking transaction information for individual sessions. We typically recommend an interval of 60 minutes. You can increase the maximum log size if you would like to track longer duration. V14.4 and newer versions of the Server store 10 previous copies of this file. Be sure to gather this log regularly to keep the session history if you are not limited to session counts.
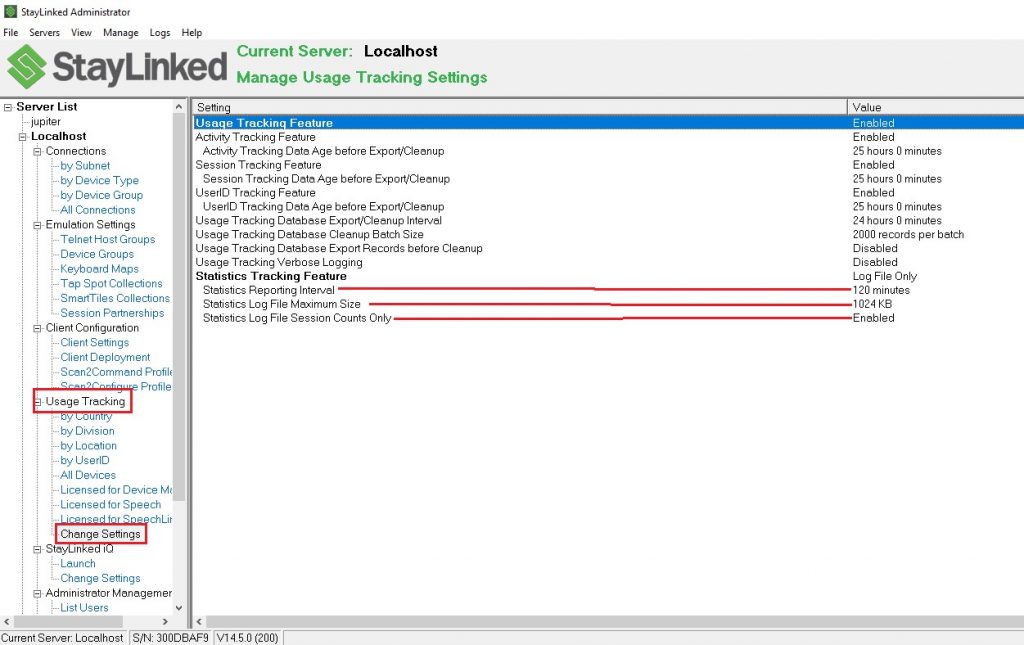
The contents of this feature list are dynamic. Depending upon which settings options are enabled, other settings options may or may not be displayed in the list. Only the appropriate settings options will be displayed based upon the currently selected options. You must double-click on one of the settings in the list in order to make changes to that setting.
Please review the ‘StayLinked Usage Tracking User Guide’ for full details of these features.
Setting an Inactivity Timeout
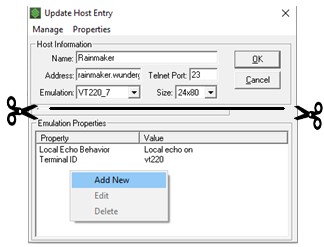
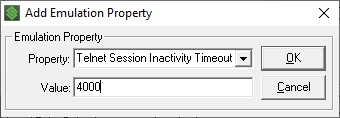
Users sometimes do not realize that a sign-on screen is still a telnet session. StayLinked offers several places that you can configure a timeout to free up seats from inactive devices. The most common setting is in the telnet host entry as an Emulation Property called ‘Telnet Session Inactivity Timeout’. The value is configured in seconds. We recommend using a large enough number that you’re guaranteed the user does not intend to return to their session. For example, a value of 14400 would represent 4 hours.
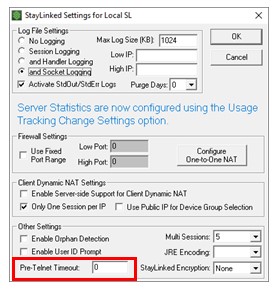
Users may be presented with a message or a choice of telnet hosts. Since users have not yet selected a host, the values in the host entry would not apply. For these, you can use Pre-Telnet Timeout. Navigate to Server Configuration > Server Settings and update the ‘Pre-Telnet Timeout’ value. This value can usually be significantly smaller, since there is no danger of interrupting a telnet session.
The last location is in our screen recognition features. These features allow for settings and options specific to each screen presented by the telnet host. Our screen recognition guide provides more details on these features.
Share the post "Monitoring Your License Usage"