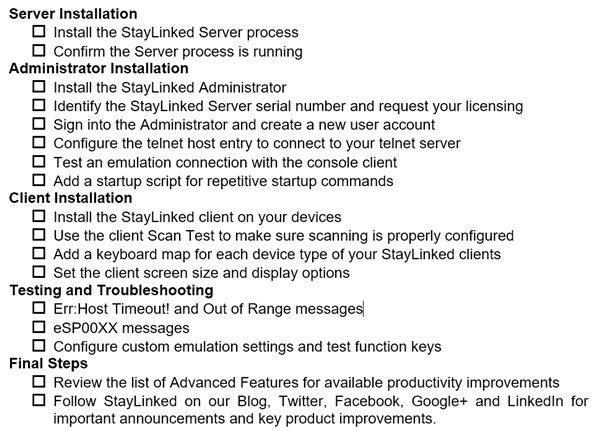
SmartTE includes an extensive array of settings and configuration options. The checklist below has been included as a general outline. Please contact our technical support team if we can be of any assistance with the download, installation, or configuration.
StayLinked Support can offer troubleshooting and guidance for all product features. Extensive assistance, configuration, or implementation time may be subject to an extended services charge. Your StayLinked certified reseller may also be able to assist with implementation assistance and services.
The following list presents the basic steps involved in getting a new installation up and running. Details on each step can be found in various guides on our this knowledge base and our downloads site, as well as the most common questions and solutions later in this article. Links are included below for the general steps and the search feature can offer a variety of resources.
Installation Checklist

Server Installation
Administrator Installation
- Install the StayLinked Administrator
- Identify the StayLinked Server serial number and request your licensing
- Sign into the Administrator and create a new user account
- Configure the telnet host entry to connect to your telnet server
- Test an emulation connection with the console client
- Add a startup script for repetitive startup commands
Client Installation
- Install the StayLinked client on your devices (details included with each client download)
- Use the client Scan Test to make sure scanning is properly configured
- Add a keyboard map for each device type of your StayLinked clients
- Set the client screen size and display options
Troubleshooting and Error Messages
Final Steps
- Review the list of Advanced Features for available productivity improvements
- Follow StayLinked on our Blog, Twitter, Facebook, Google+ and LinkedIn for important announcements and key product improvements.
Share the post "New Installation Checklist"
