Creating a Profile
Launch the SmartBrowser APK and enter ‘Admin' mode.
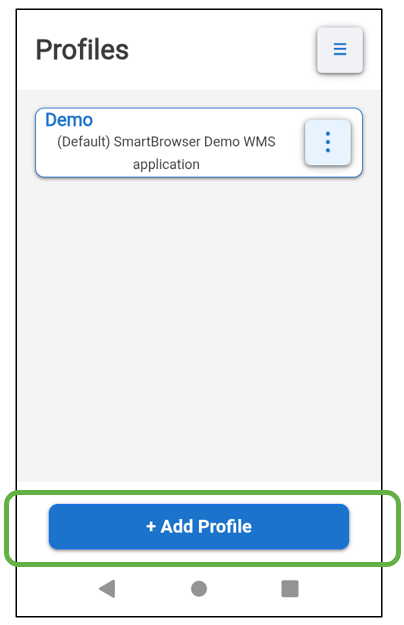
The ‘Profiles’ screen appears. By default, the SmartBrowser WMS Demo appears as the single, default profile.
Tap the ‘+ Add Profile” button to add a Profile.
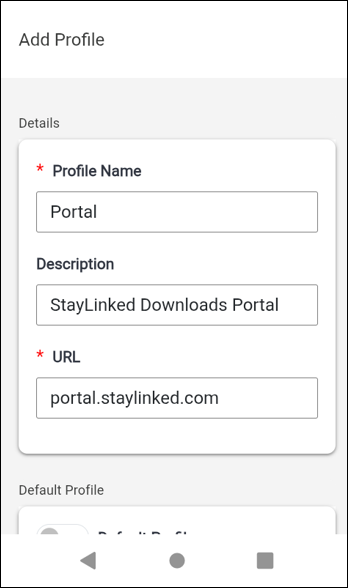
Profile Name, Description and URL
Each Profile requires a minimum of a 'Profile Name' and a 'URL'. 'Description' is optional and appears below the 'Profile Name' in the 'Sessions' screen.
In the example shown below we have entered the Profile Name, Description, and URL pertaining to the StayLinked Downloads Portal.
Adding a Profile
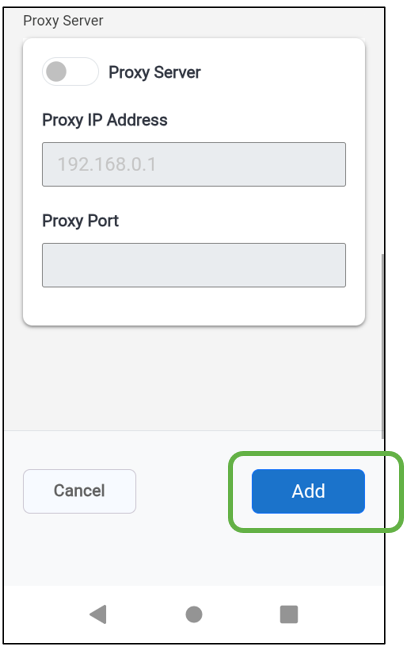
Once all of the configuration options have been chosen for the new Profile, scroll to the bottom of the screen and tap "Add".
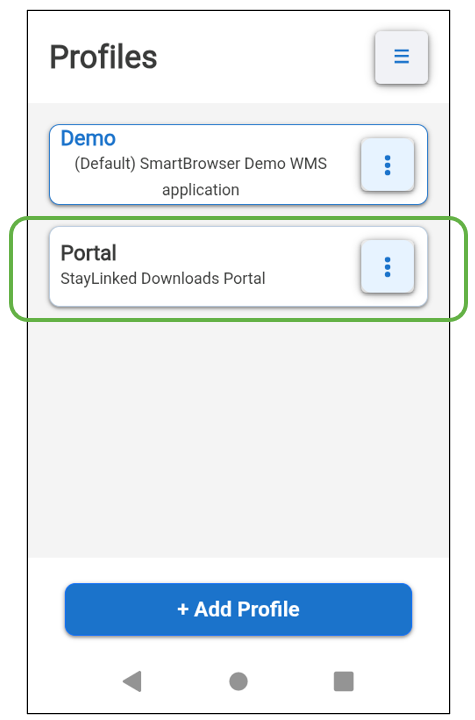
The 'Profiles' screen now displays the new "Portal" profile just created in this example shown below.
Editing a Profile
From the 'Profiles' screen tap the kabob menu icon to the right of the profile you wish to edit and select 'Edit profile'.
Once the desired changes are made to the profile, scroll to the bottom of the screen and tap the 'Save' button.

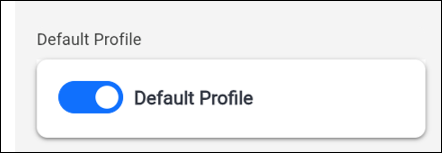
Default Profile
When creating or editing a Profile, enabling the 'Default Profile' slider designates it as the new Default Profile. The Profile configured as 'Default' always appears in blue color as the first Profile on the 'Profiles' screen of the SmartBrowser client with "(Default)" shown in the description.
Proxy Server
Slide the toggle to the ON position to enable the feature, then input the appropriate Proxy IP Address and Port.

Share the post "Creating and Managing Profiles"